Easy No-Knead Crusty Bread Recipe with Wood's Maple Sugar: Perfectly Chewy Every Time
Albert Wood
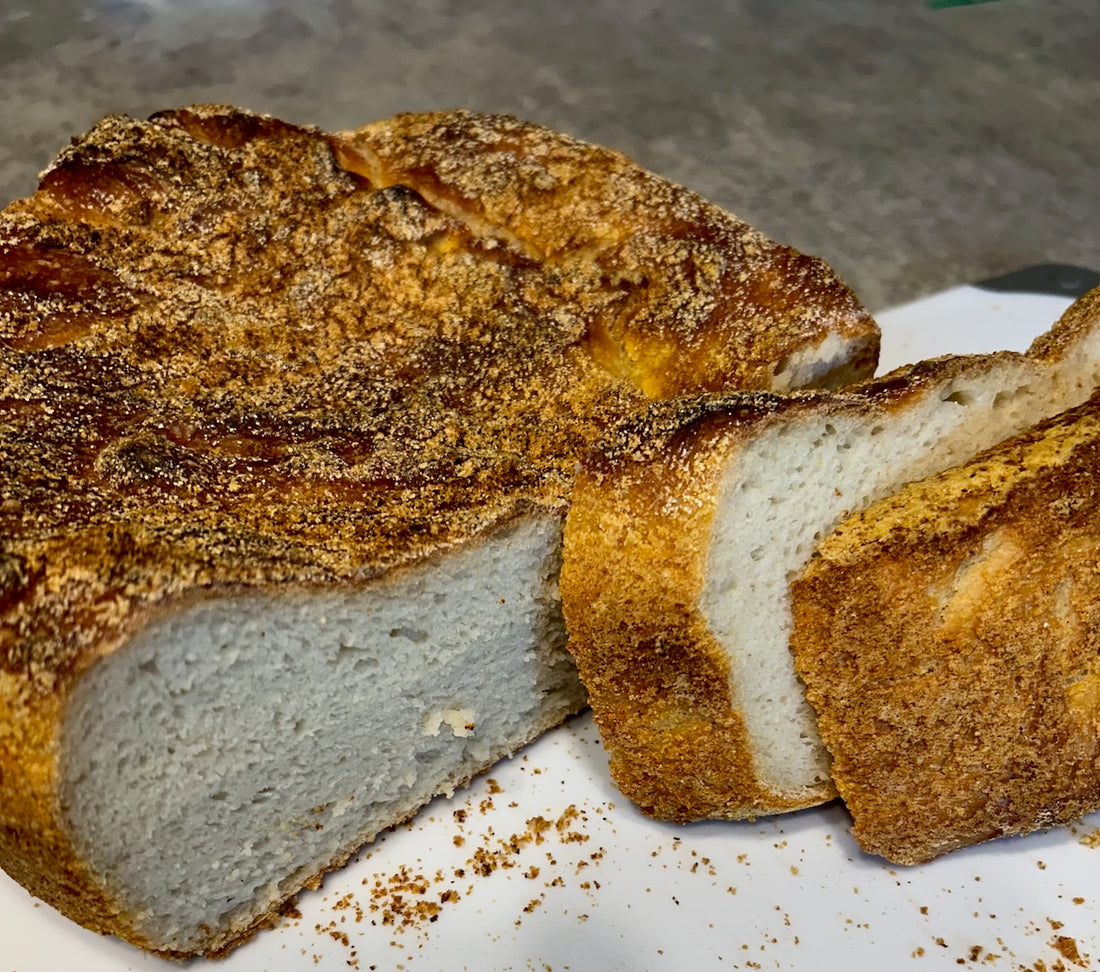
In the world of homemade bread baking, simplicity often reigns supreme. And when it comes to an easy no-knead crusty bread recipe that promises a perfectly chewy texture every time, Wood's Maple Sugar takes it to a whole new level. The combination of minimal effort and high-quality ingredients like King Arthur Flour in this recipe offers an ideal balance of convenience and flavor.
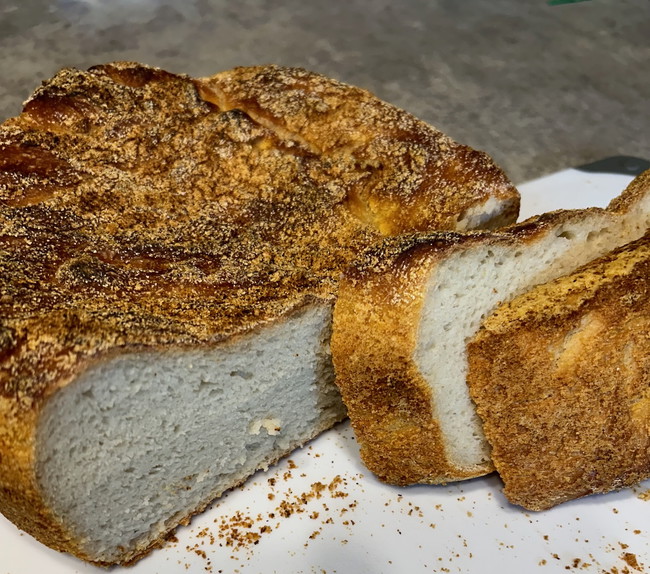
Picture this: With just a handful of pantry staples and a little bit of patience, you can achieve a beautifully crusty exterior and soft, chewy crumb that rivals any bakery loaf. The addition of Wood's Maple Sugar elevates this humble bread to a gourmet treat with a touch of sweetness and subtle maple flavor.
Join us as we dive into the step-by-step process of creating this delectable no-knead bread, complete with tips and tricks to ensure success each and every time. Whether you're a seasoned baker looking for a quick and impressive recipe or a novice eager to explore the world of artisanal bread making, this Easy No-Knead Crusty Bread Recipe with Wood's Maple Sugar is sure to become a staple in your kitchen.
Easy No-Knead Crusty Bread Recipe with Wood's Maple Sugar
Rated 5.0 stars by 1 users
Author:
Al Wood
Servings
1 round loaf
Prep Time
12 hours 5 minutes
Cook Time
50 minutes

Ingredients
-
5 cups (600g) King Arthur Unbleached Bread Flour
- ¼ teaspoon instant yeast
- 2 ¼ teaspoons (14g) table salt
-
2 tablespoons Wood's Vermont Maple Sugar
- 2 ⅔ cups (605g) water cool
- Cornmeal or semolina for coating the pan
Directions
- Decide on a timeframe. The dough is stirred together, rests for 10 hours, is put into a crock, rises for 2 hours, and is baked for 45 minutes. So that's just under 13 hours.
It's a good weekend bread; stir it together Friday night at about 10 PM; scoop it into the crock at about 8:00 AM Saturday; bake it at about 10:00 AM. Your bread will be baked, cooled, and ready to slice by noon. Be sure you have something to bake the bread in, namely a 4- to 4 ½ quart round, deep-covered crock, Dutch oven, or casserole dish. It must be oven-safe (obviously); it really does need a lid, and it has to be deep enough (about 4") to hold the rising dough.
Dough—
- Measure the flour by gently spooning it into a cup, then sweeping off any excess. Place all of the dry ingredients in a large mixing bowl. Stir to combine (I prepared this earlier in the evening and set it aside until 10 PM).
- Add cool water to the dry ingredients. At first, the dough will stick to the spoon and follow it around the bowl. However, once the flour mixture is completely absorbed (after about 10 seconds of vigorous stirring), the dough will become softer and stick to the sides of the bowl. That's it; you're done stirring.
- Cover the bowl and set the dough aside to rest at cool room temperature for 10 hours. If it's very hot and humid, do your best to find a cooler spot; about 68°F to 70°F is ideal. After its rest, the dough should be very bubbly and will have risen quite a bit.
- Grease your chosen crock with non-stick vegetable oil spray, then sprinkle with cornmeal or semolina for a nicely crunchy crust. Be sure the crock is well-greased; the last thing you want is for the baked bread to stick.
- Gently scoop it up and place it into the greased crock. Add the lid and let the dough rest and rise for 1 ½ to 2 hours at cool room temperature; again, 68°F to 70°F is ideal.
- Towards the end of the rising time, preheat your oven to 430°F.
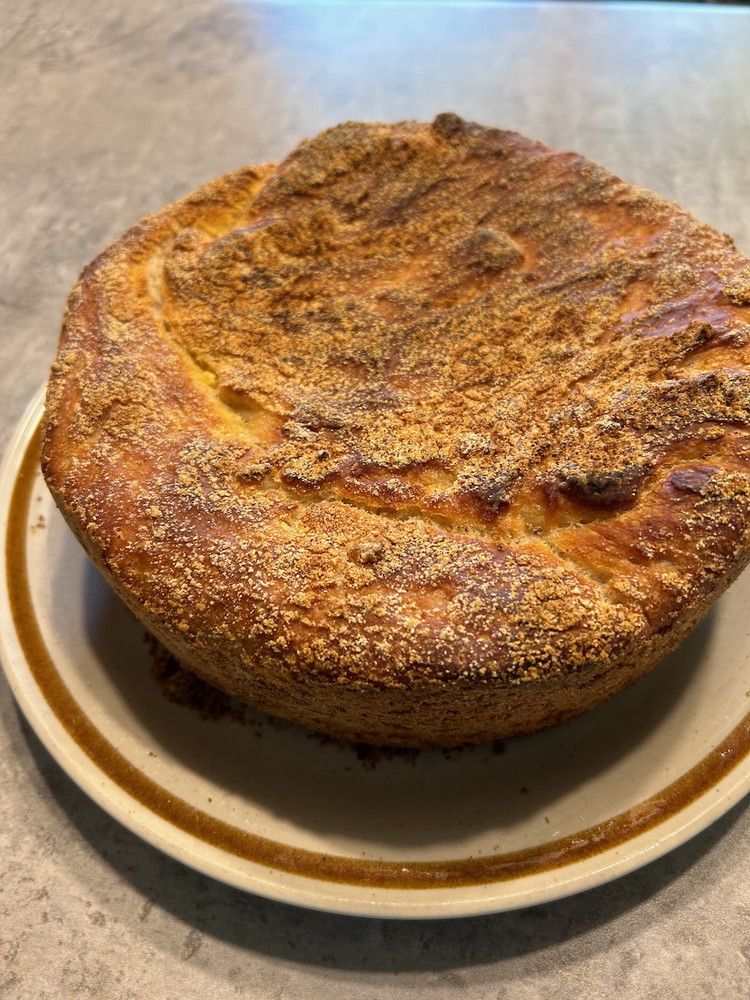
- Check the dough before putting it in the oven; it will have risen about ½” and show some large bubbles on the surface, though it’ll be flat across the top, not domed. Shake the crock very gently; the dough should jiggle a bit.
- Bake the bread for 45 minutes with the lid on (Be sure your lid is oven-proof). Remove the lid and bake for an additional 5 to 10 minutes until the top of the loaf is golden brown with deeper brown blisters (from the bubbles). Remove the crock from the oven and turn the bread out onto a rack to cool. Store completely cool bread, well-wrapped, at room temperature for several days. Freeze for longer storage.

Recipe Note
The bread is delicious when toasted and/or topped with peanut butter, dunked in soup, or eaten with a salad. Enjoy!!!!
